R/C Tire Selector
User Guide — v3.0.1
1. Getting Started
Open the app at gripguide.net in any browser. It works on phones, tablets, and computers.
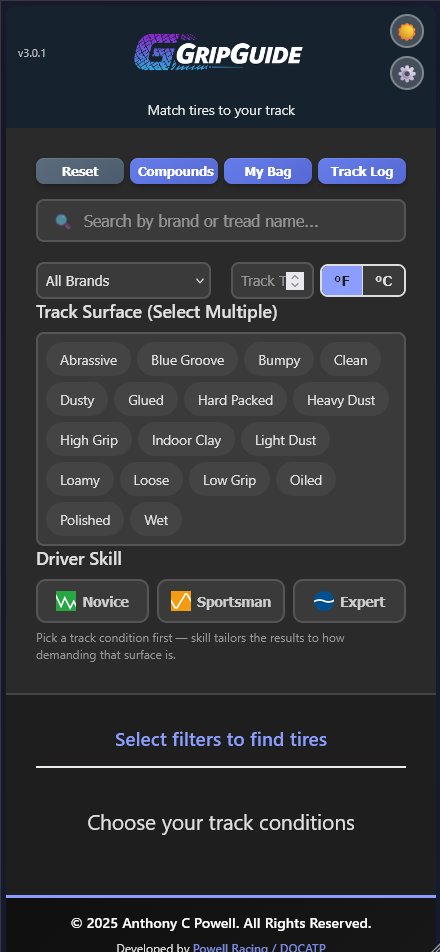
On your first visit you'll see a disclaimer. Read it and tap OK — I Agree to continue. You only see this once.
The app can be installed to your home screen for quick access:
- iPhone: Tap the share icon → "Add to Home Screen"
- Android: Tap the menu (⋮) → "Add to Home Screen" or "Install App"
2. Finding Tires
Search
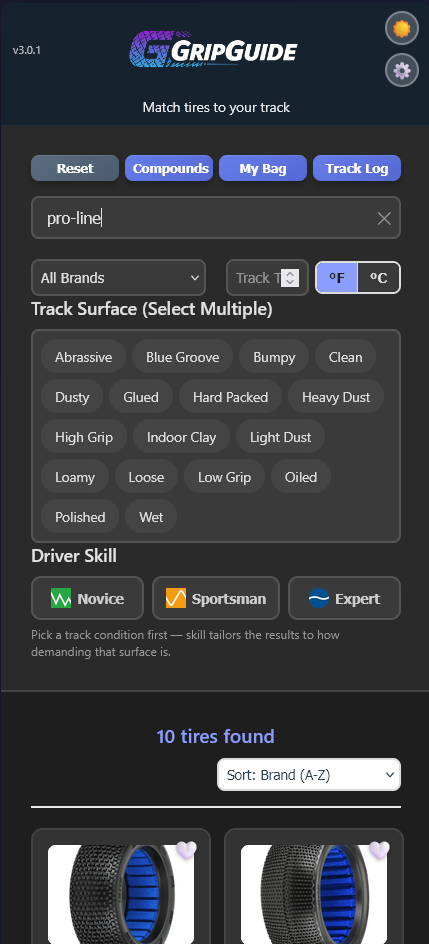
Type any brand or tread name in the search box at the top. Results filter as you type.
Filter by Brand
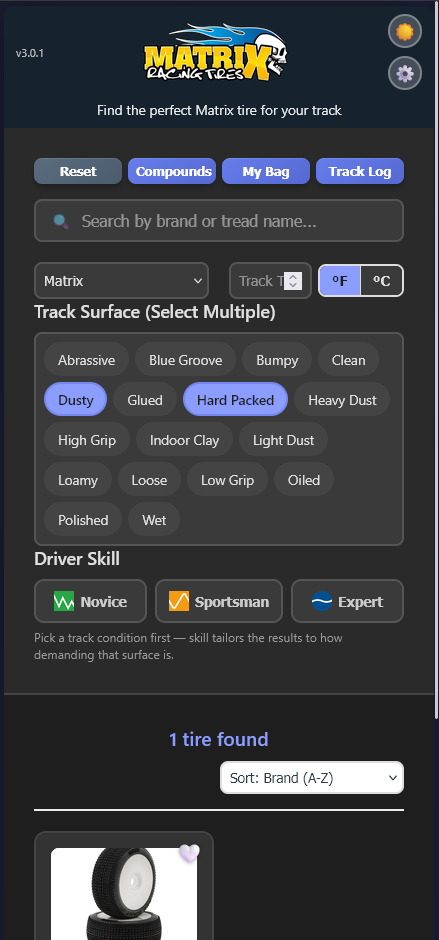
Use the All Brands dropdown to show only one brand. When you select a brand, the header changes to show that brand's logo.
Filter by Track Temperature
Enter your track surface temperature in the temp box. The app shows only tires with compounds rated for that temperature. Use the °F / °C toggle to switch units.
Filter by Track Surface
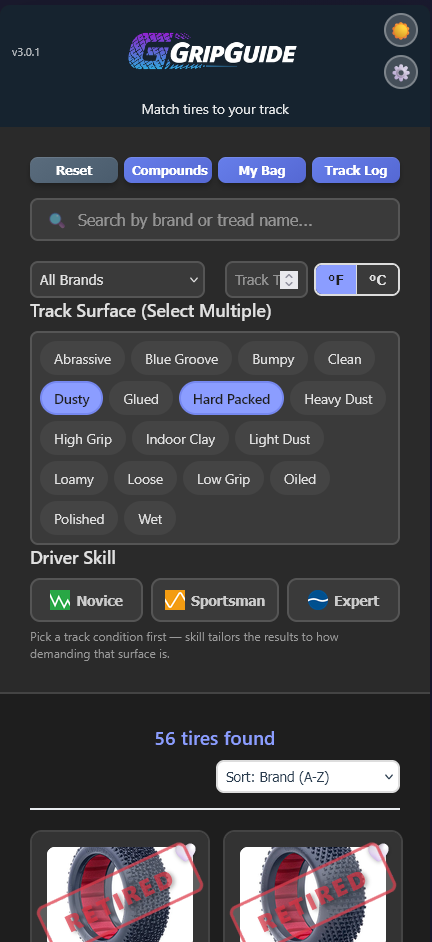
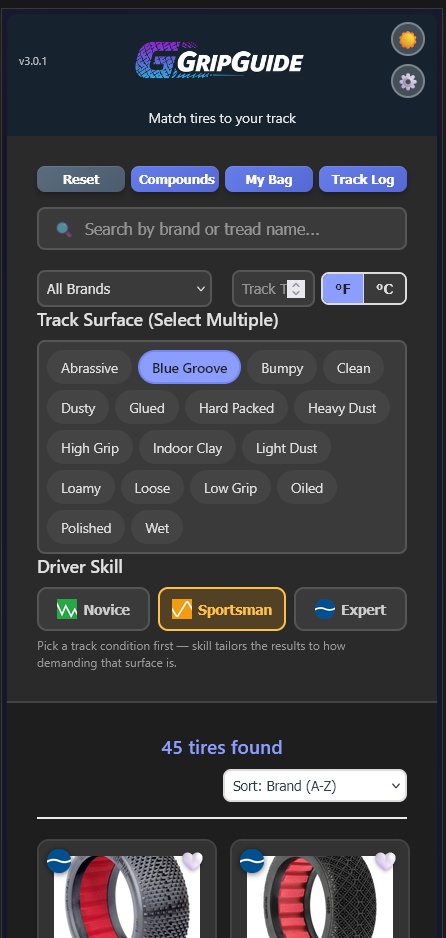
Tap one or more surface condition tags (Hard Packed, Blue Groove, Dusty, etc.). Only tires that match your selected conditions will appear.
Combining Filters
All filters work together. For example: select "AKA" as the brand, enter "85" for temp, and tap "Hard Packed" — you'll see only AKA tires with compounds rated for 85°F on hard packed tracks.
Smart Suggestions
If no tires match your exact filters, the app shows the closest matches with a score badge explaining why each tire was recommended and what didn't match.
Sorting
On mobile, a sort dropdown appears above the results. Sort by brand, tread name, or temperature range.
Viewing a Tire
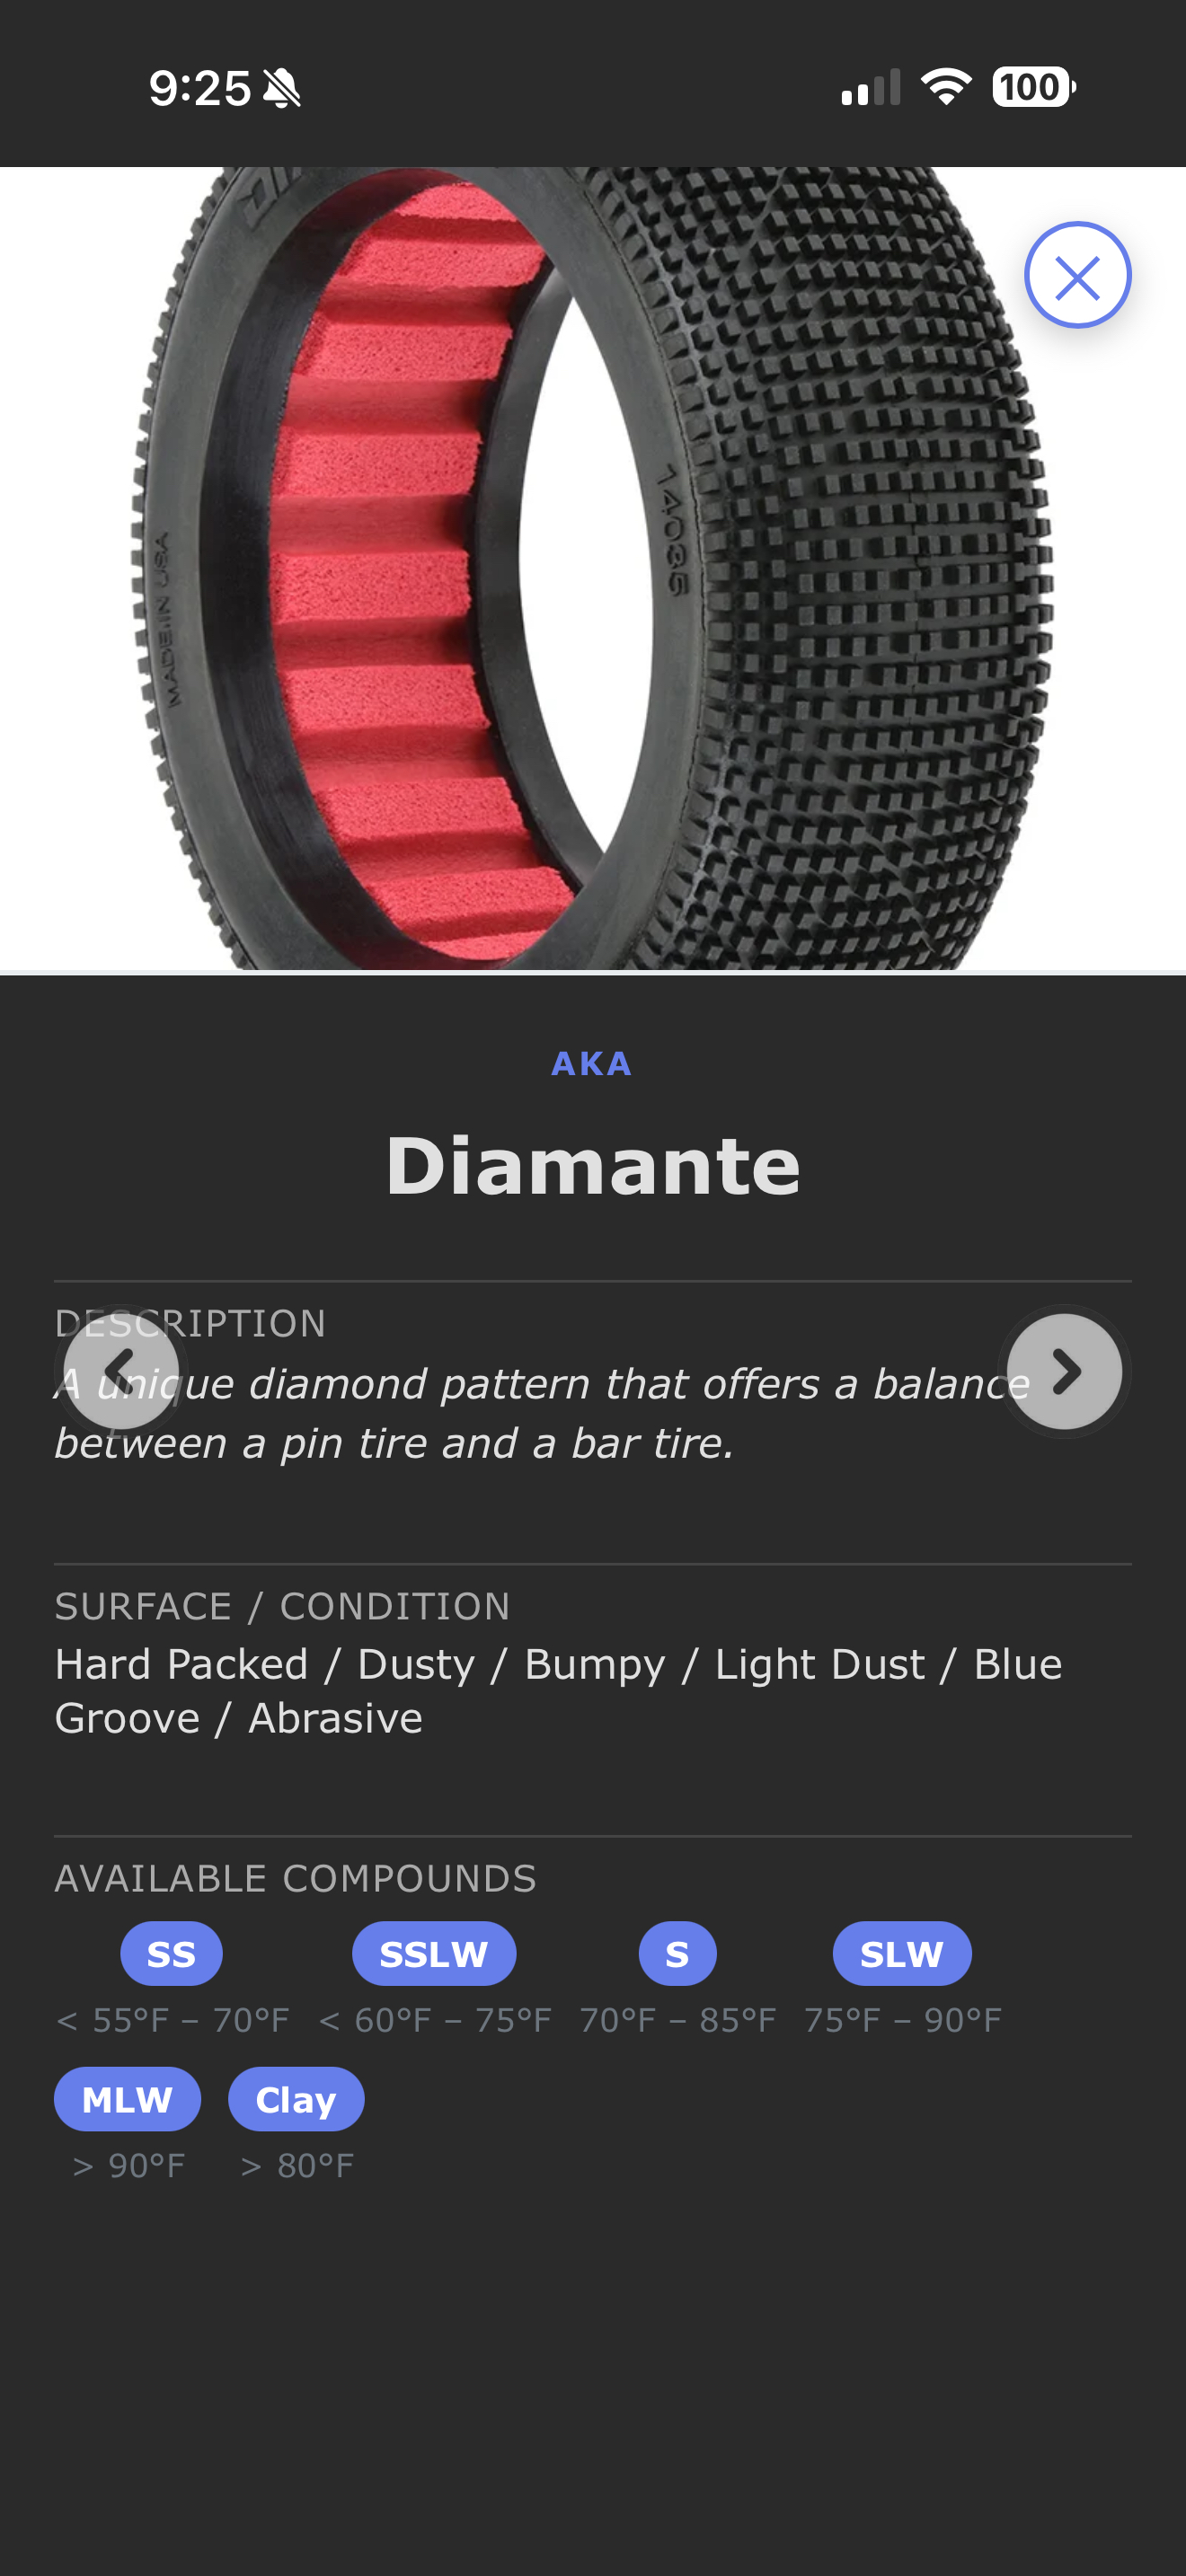
Tap any tire card to expand it. You'll see:
- Full-size tread photo
- Description and characteristics
- Surface conditions it works best on
- All available compounds with temperature ranges
Use the left/right arrows (or swipe on mobile) to browse between tires. Tap ✕ or the background to close.
3. Driver Skill
The Driver Skill filter tailors tire recommendations based on your experience level combined with the track surface you've selected.
How It Works
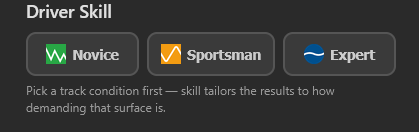
- First, select a track surface (e.g. Blue Groove, Oiled, Loamy). The skill filter only activates when a surface is chosen.
- Then pick your skill level:
- Novice — shows forgiving and balanced tires. These are stable, predictable, and won't punish mistakes. On a blue groove track, you'll see versatile pin tires instead of aggressive bars.
- Sportsman — shows balanced and precise tires. You get the full range of competitive race tires including some that reward cleaner lines.
- Expert — shows only precise tires. Bars, micro-pins, and tight patterns that maximize grip when driven on the exact racing line.
Tread Character Badges
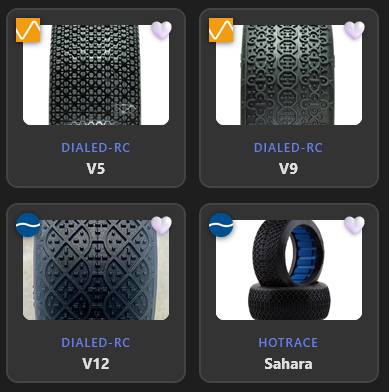
When a skill is selected, each tire card shows a badge indicating its tread character:
- Precise (green) — bar tires, micro-pins, or tight web patterns. Fast on-line, punishing off-line.
- Balanced (blue) — medium pin tires. Competitive but tolerant of imperfect driving.
- Forgiving (orange) — large lugs or wide-spaced pins. Stable and predictable even off the ideal line.
Smart Fallback
On specialized surfaces (like oiled tracks) where almost every suitable tire is precise, the skill filter won't hide tires from novices — because there simply aren't gentler alternatives for that surface. It only narrows the list when enough gentler options exist.
4. My Tire Bag
The Tire Bag is your personal inventory of tires you own. It tracks which tires you have, what compounds, how many sets, and any notes.
Adding a Tire to Your Bag
Tap the 🤍 heart on any tire card. A popup will appear showing all available compounds for that tire. Check the compounds you own, set the quantity (number of sets), and optionally add notes (e.g. "front set is worn, rear is fresh").
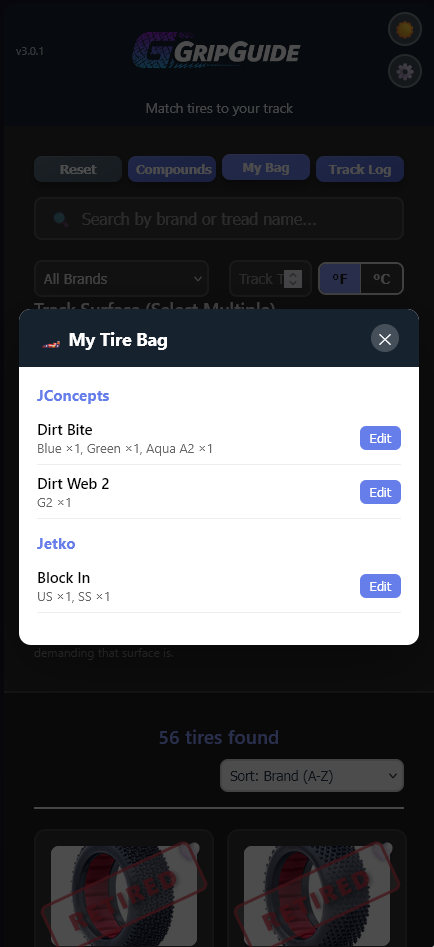
Tap Save to add it to your bag. The heart turns to ❤️.
Viewing Your Bag
Tap the My Bag button in the filter bar to see everything you own, grouped by brand. Each entry shows:
- Tire name
- Compounds you have and how many sets of each
- Any notes you added
Editing or Removing
Tap the ❤️ on a tire that's already in your bag to re-open the popup. Change compounds, quantities, or notes and tap Save. Or tap Remove to take it out of your bag entirely.
5. Compound Guide
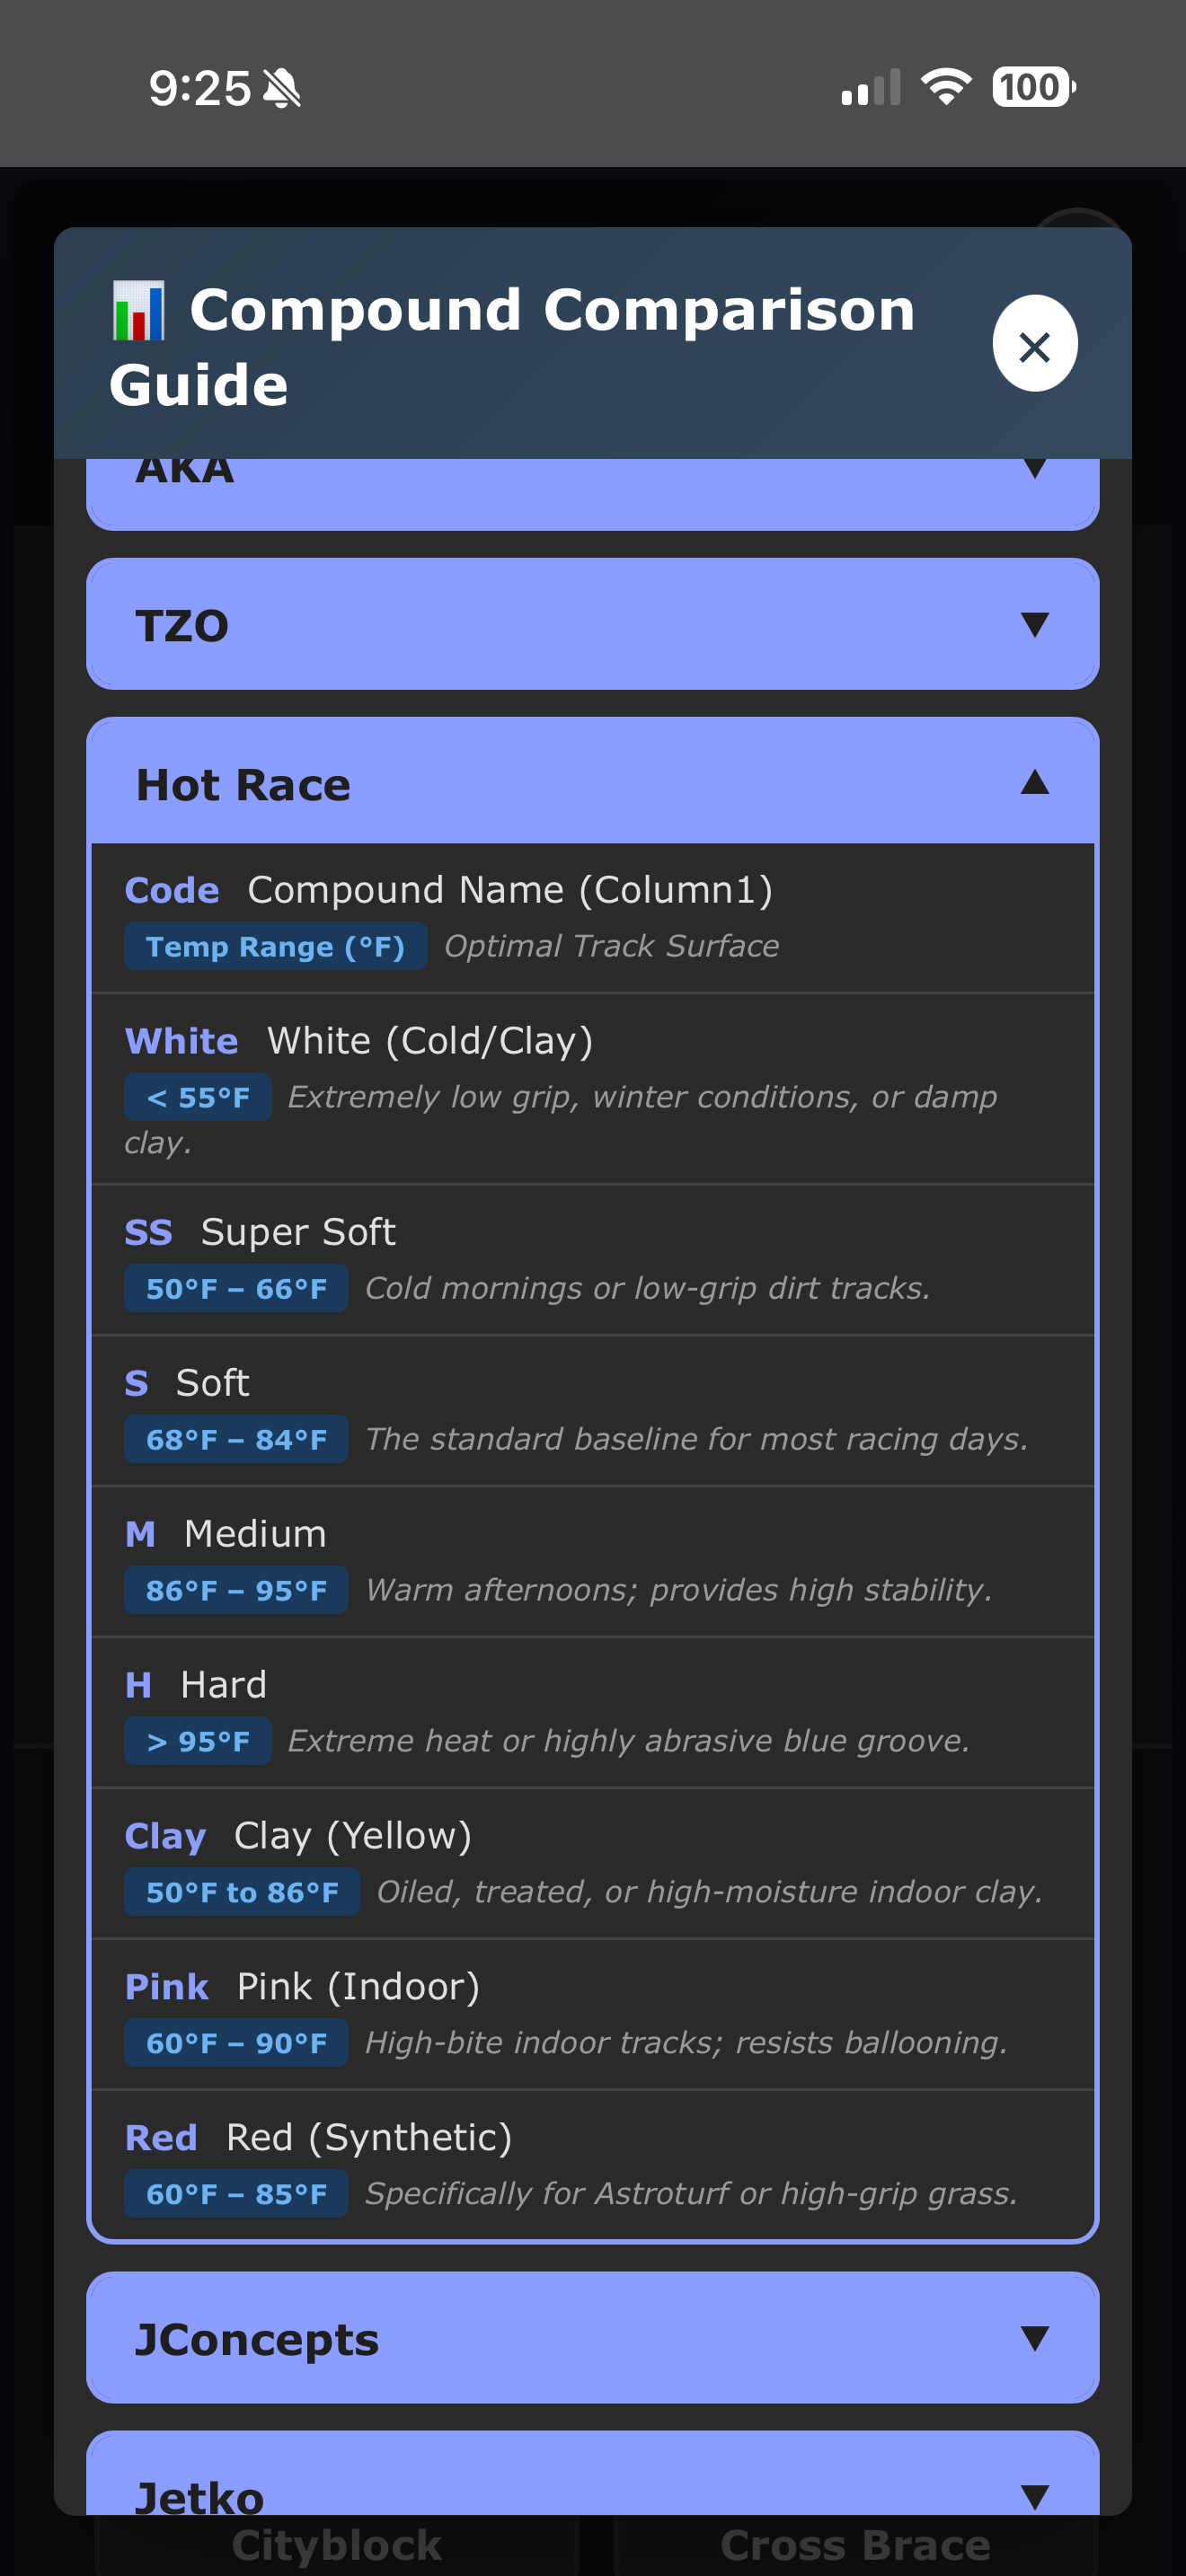
Tap the Compounds button to open the compound comparison chart.
On Desktop
You'll see a full table with all brands as columns and compound categories as rows. This lets you compare what "Soft" means across different brands.
On Mobile
The chart shows one brand at a time. Tap a brand name to expand it and see all their compounds with:
- Compound code (SS, S, SLW, etc.)
- Full name and color
- Temperature range
- Best surface conditions
6. Track Log
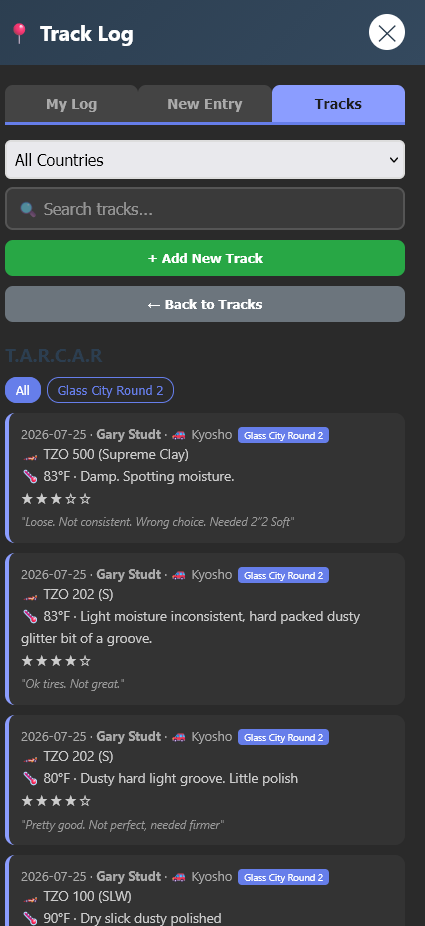
Tap the Track Log button to open your race session journal. It has three tabs:
My Log
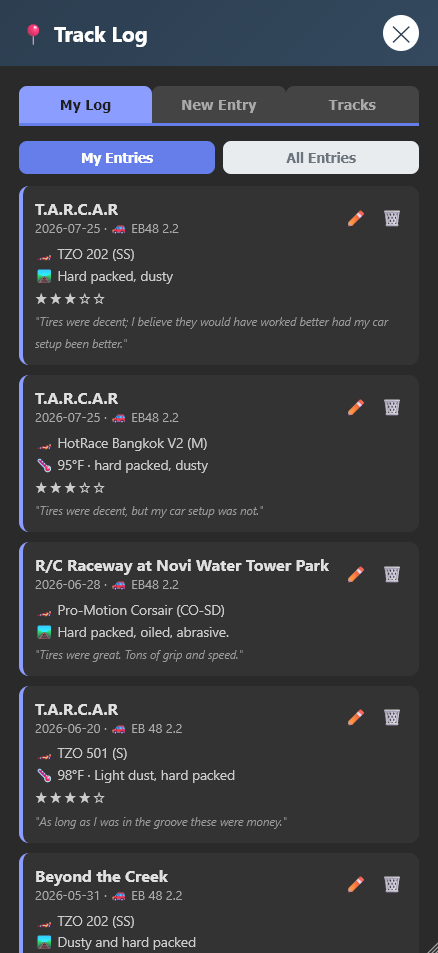
Shows your race log entries, newest first. Each entry shows the track, date, tire, compound, temperature, rating, and notes.
Toggle between My Entries and All Entries to see just yours or everyone's logs.
- Tap ✏️ to edit an entry
- Tap 🗑️ to delete an entry
You can only edit or delete your own entries.
New Entry
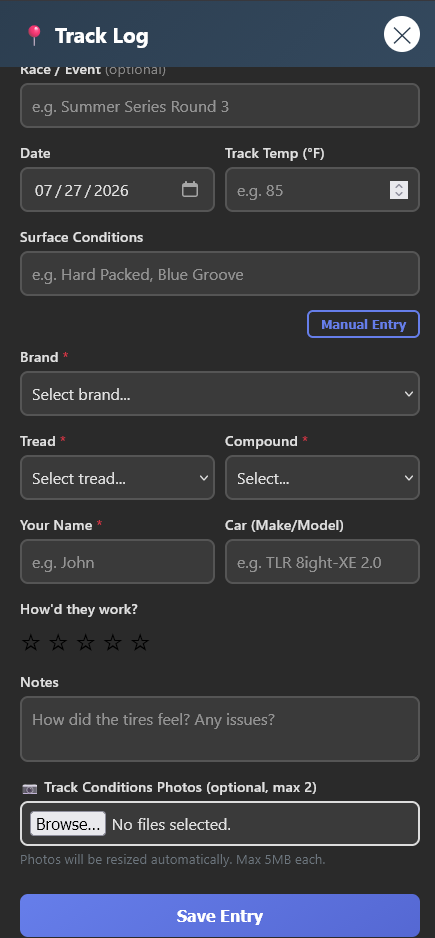
Fill in the details of your race session:
- Track — pick from the list of known tracks
- Date — defaults to today
- Track Temp — the surface temperature in °F
- Surface Conditions — describe the track (e.g. "Hard Packed, Blue Groove")
- Brand / Tread / Compound — pick from dropdowns. The tread list filters by brand, and compounds filter by tread.
- Your Name — optional, shown to other users
- Car — optional, your car make/model
- Rating — tap 1-5 stars for how well the tires worked
- Notes — anything else worth remembering
Tracks
Browse all tracks in the database. Use the search box to find a specific track by name, city, or state.
Tap a track to see all race logs from everyone who has raced there — a great way to see what tires work before you go.
Tap + Add New Track to add a track that isn't listed. Fill in the name, city, state, surface type, and whether it's indoor or outdoor. Tracks you add are visible to everyone.
7. Settings
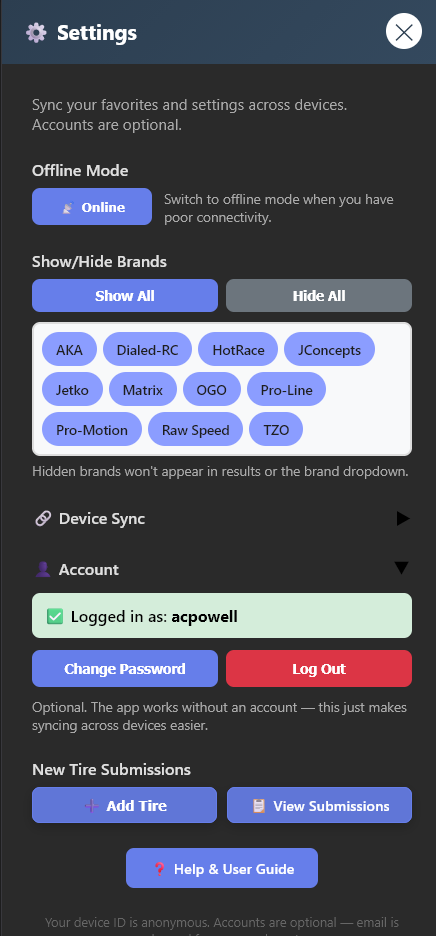
Tap the ⚙️ gear icon in the header to open Settings.
Offline Mode
Tap the Online/Offline button to switch modes. Use offline mode when you have poor connectivity at the track. The app uses cached data instead of fetching from the server.
Show/Hide Brands
Tap any brand chip to hide it. Hidden brands (shown with strikethrough) won't appear in results, the brand dropdown, or suggestions. Use Show All / Hide All for quick toggling.
Dark Mode
Tap the ☀️/🌙 button in the header to toggle between light and dark mode. Your preference is saved.
8. Accounts & Device Sync
The app works without an account — your device is identified by an anonymous Device ID. But if you want easier syncing across multiple devices, you can create an optional account.
Device Sync (No Account Needed)
Tap 🔗 Device Sync in Settings to expand the section. Here you'll find:
- Your Device ID — your anonymous identifier. Tap Copy to copy it.
- Show QR Code — displays your Device ID as a scannable QR code. Show this on one device and scan it from another to link them.
- Link Another Device — paste a Device ID from another device and tap Link to share favorites between them.
- 📷 Scan QR Code to Link — opens your camera to scan a QR code from another device. It auto-links when it reads a valid code.
Creating an Account (Optional)
Tap 👤 Account in Settings to expand the section. Tap Create Account and fill in:
- Username — 3-24 characters, letters, numbers, underscore, or dash
- Email — used only for password resets, nothing else
- Password — minimum 8 characters
Your current device is automatically linked to your account when you create it.
Logging In
On a new device, open Settings → Account and enter your username (or email) and password. The new device is automatically linked to your account — all your favorites sync over.
Forgot Password
Tap Forgot password? in the Account section and enter your email. You'll receive a reset link (check your spam/junk folder). The link expires in 1 hour.
Changing Your Password
While logged in, tap Change Password in the Account section. Enter your current password and your new password.
Privacy & Security
- Passwords are stored as one-way encrypted hashes — nobody can see them, not even the site admin
- Your email is only used for password resets
- Accounts are completely optional — the app works fine without one
- Your Device ID is anonymous and contains no personal information
9. Tips & Tricks
- Pull to refresh — on mobile, pull down at the top of the page to reload tire data
- Keyboard shortcuts — on desktop, use arrow keys to navigate between expanded tires, ESC to close
- Reset filters — tap the Reset button to clear everything and start fresh
- Submit a tire — know a tire that's missing? Open Settings and tap "Add Tire" to submit it
- Track temp vs air temp — the app uses track surface temperature, not air temperature. Track temp is usually higher than air temp in direct sun.